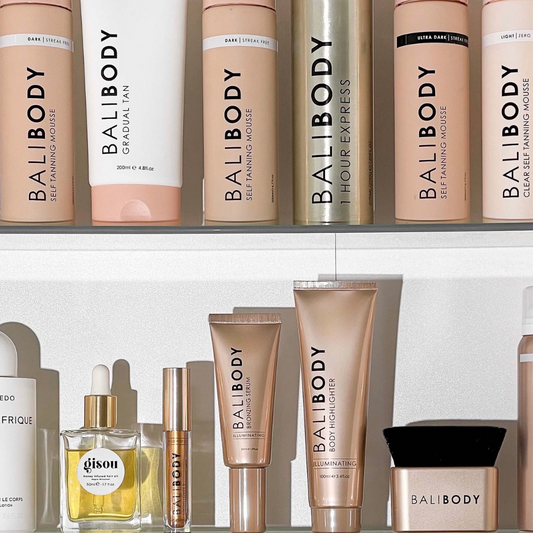
If you're after the most natural looking fake tan results, Gradual Tan is the solution.
This is exactly what you want your tan to look like however an uneven, blotchy finish can give the game away completely if not applied correctly. A good looking fake tan is the result of three things: preparation, application and maintenance. We have broken this down for you in a short but extremely easy to follow guide below. You can thank us later.
PREP
Before applying your Gradual Fake Tan, be sure to tick off the below list:
Shave or Wax
At least 24 hours prior to applying your Gradual Tan, be sure to shave or wax the areas you’re going to be applying the Gradual Tan to. This will ensure the smoothest application possible.
Exfoliate or Dry Brush
Fact: Self Tan clings to rough patches and dead skin cells. You should always exfoliate the skin to leave it silky smooth. Reach for your go-to body physical body exfoliant and rid your skin of the nasties.
APPLY
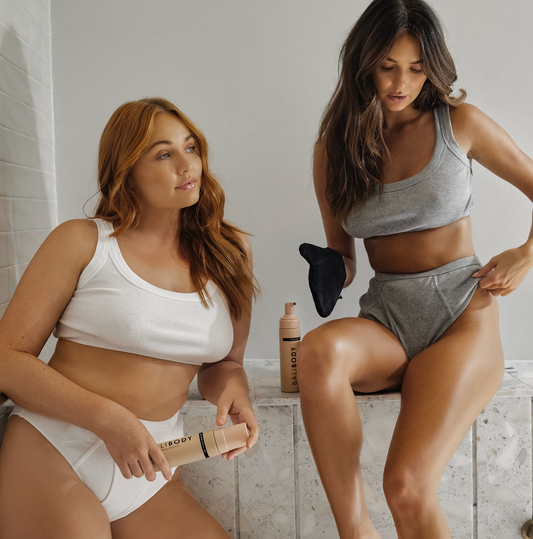
Once your skin is prepped, you’re ready for the main event, application! Top tip, you’re going to need a good Tanning Mitt. This is not only going to seamlessly apply the product to the skin, but will keep your hands completely stain free. Apply a generous amount of product to the middle of the mitt and buff the product into the skin using circular motions. Only use leftover product on your feet, hands, wrists, elbows and knees. These areas are prone to turning blotchy and uneven so less is more here. Tanning your back is the tricky part, ask a friend or attach your tanning mitt to a wooden spoon.
MAINTAIN
In order to keep your tan in tip top shape, regularly moisturise and exfoliate the skin before any other Gradual Tan application. Hydrated skin will leave your tan looking as fresh as possible.


