Honestly, there are few feelings on this earth that we love more than putting on a new outfit and letting our fresh and glowing tan be the feature.
But if you want that tan to stick around and stay flawless even after the weekend’s activities, it’s all about the skin prep.
Maintaining healthy and fresh skin is so important in any setting. You wouldn’t spend an hour doing your hair and makeup for a girlfriend’s birthday without prepping and setting first would you?
Your tanning ritual should be no different.
Not only will your tan glide on more evenly and naturally, but it will last far longer into your working week. We don’t want to be rocking up to work on a Wednesday with our skin mirroring how we may have been feeling on the Sunday morning!
Here is our ‘how to’ guide to achieving that perfect base so that your tan will go the distance and stay airbrush chic right into day 6.
Step 1: Complete removal
If you’re an avid tanner like us, you know there may still be some persistent self-tan residue that’s been hanging around from your last application. We find most often this is a build-up on your wrists, elbows or knees. We always recommend using a self-tan remover initially as part of your pre-tan skin prep. Our Bali Body Self Tan Remover can be applied to dry skin using your hands. Just lather up, let it melt into the skin for 5 minutes, then jump in the shower. Now you're ready to jump into step 2!

Step 2: Exfoliate
This may be the most important step in your pre-tan skin prep routine; Exfoliate, exfoliate, exfoliate! Exfoliating away all of the dead skin cells and dry patches will ensure a streak-free and even tan. Shower with warm water and use the Bali Body Exfoliating Mitt to completely remove your old tan and buff away any dry patches. If you have a hair removal process, this is the step to implement this too. Seriously babes, your skin is going to feel so fresh and nourished you won’t know what to do with yourself!

Step 3: Moisturise
There is honestly nothing worse than a beautiful, streak-free tan that has been unevenly caught around those problem parts we all love to hate; don’t even think about neglecting those cheeky areas! Remember to moisturise anywhere that the fake tan has a habit of catching, which includes the knees, wrists, elbows and fingers. We recommend going over these areas lightly with a moisturiser that will super quickly and evenly into these areas, creating the perfect base.
Step 4: Apply!
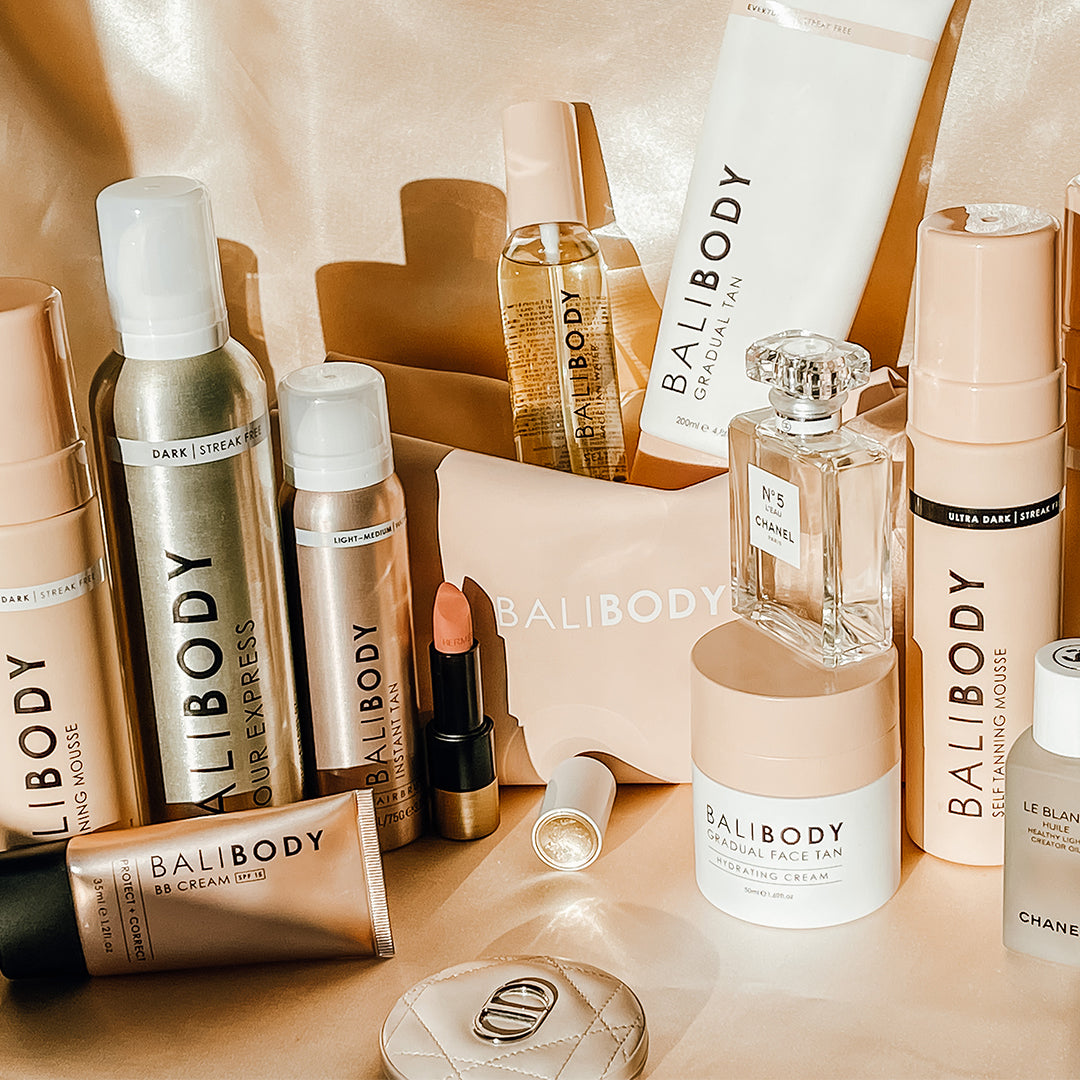
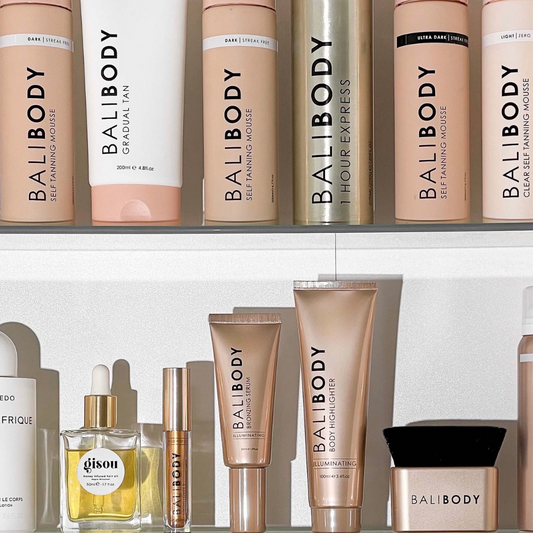
Self-explanatory really! And our favourite part, obviously! We always recommend ensuring that you select a tan that will not only suit your skin tone but also your outfit and timeframe. If you’re in a rush or have had plans sprung on you last minute, we recommend applying our 1 Hour Express Mousse or Instant Tan. If you’re wanting that ‘I’ve just spent two months lying on the beaches in Mallorca’ tan, we would recommend opting for our Ultra Dark or Original Tanning Mousse. To achieve a deeper tan that will continue to develop the pigment, leave it on overnight. If you have fairer skin and are looking for a more subtle glow, opt for something gradual and buildable like our Gradual Tan or Gradual Face Tan. Gradual tanning gives you complete control in being able to fully customise your glow, allowing you to build it up at your own pace.

Extra pre-tan tips
Another BB tip for the perfect pre-skin prep check we recommend, is ensuring your tanning mitt has been cleaned and rinsed. Treat your Bali Body Luxe Tanning Mitt like you would your makeup brushes and sponges and give it a quick clean before each application.
Babes, we hope this handy ‘how to’ guide helps you to achieve that streak-free glow when applying your tan, and has given you some handy tips on how to prep your skin so that your self-tanner will last longer and stay even for days to come!


