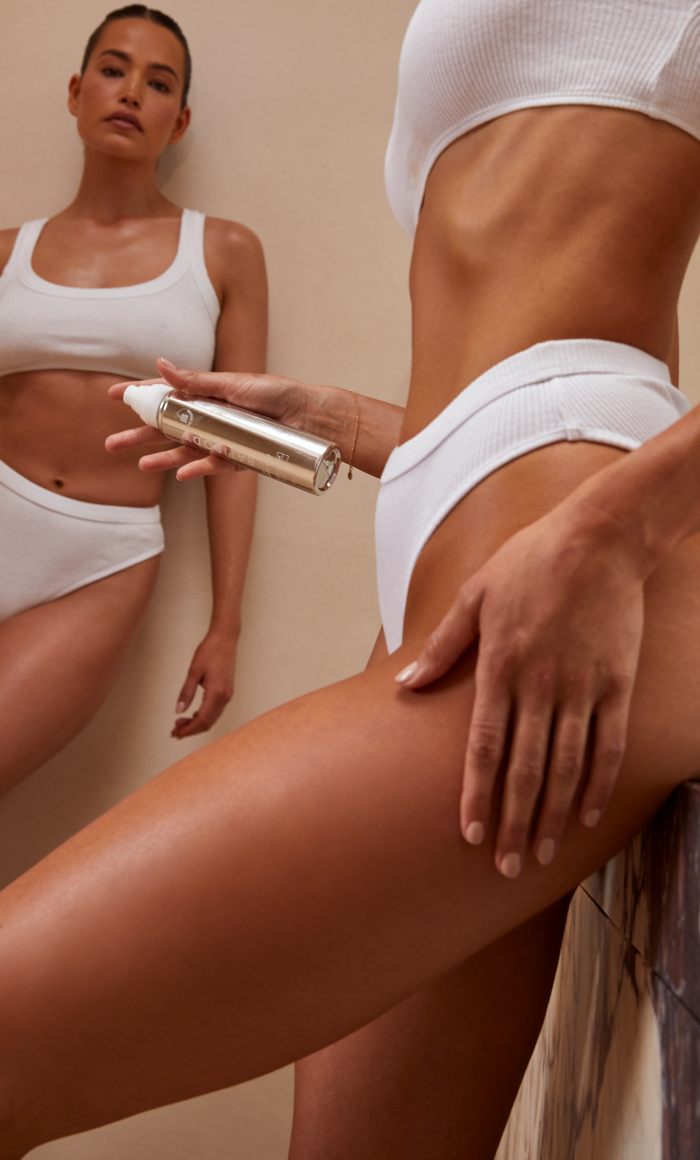
When it comes to self-tanning, many of us dread the potential for mess, stained clothes, and uneven application. Enter the no-colour guide self tanner—a game-changer in the tanning world.

Benefits of No-Colour Guide Tanner
While you might be hesitant, a colourless self tanner offers numerous benefits. Firstly, it eliminates the risk of transferring colour to your clothing or sheets, making it perfect for those who want to get dressed and carry on with their day right after application.
You can confidently leave the tanner to develop while at work or sleeping, knowing that it won't ruin your bedding or outfits.
Plus, with no colour guide, there's no messy residue to clean up, ensuring a fuss-free tanning experience.

How to Apply a Colourless Self Tanner?
- Pre-Tan Prep is Essential
Even though no-colour guide self tanners are a departure from traditional mousse formulas, pre-tan preparation remains crucial. Proper prep ensures an even, long-lasting tan. Start by exfoliating your skin to remove dead cells, focusing on dense areas like elbows, knees, and ankles. This step helps prevent patchiness and ensures the tanner adheres smoothly.
Follow up with a light moisturiser on these areas to further avoid any uneven absorption. Taking these steps will provide a smooth canvas for your self tanner, leading to a more flawless finish.
- Applying Two Layers - 5-10 Minutes Apart
One of the challenges of no-colour guide tanners is the difficulty in seeing where you’ve applied the product. To counter this, apply two layers of the tanner, spacing them 5-10 minutes apart.
This method helps ensure even coverage and reduces the chance of missing spots. The first layer sets a foundation, while the second layer fills in any gaps, guaranteeing a consistent tan. Be patient and methodical, taking your time to cover each section of your body evenly.

- Use an Applicator
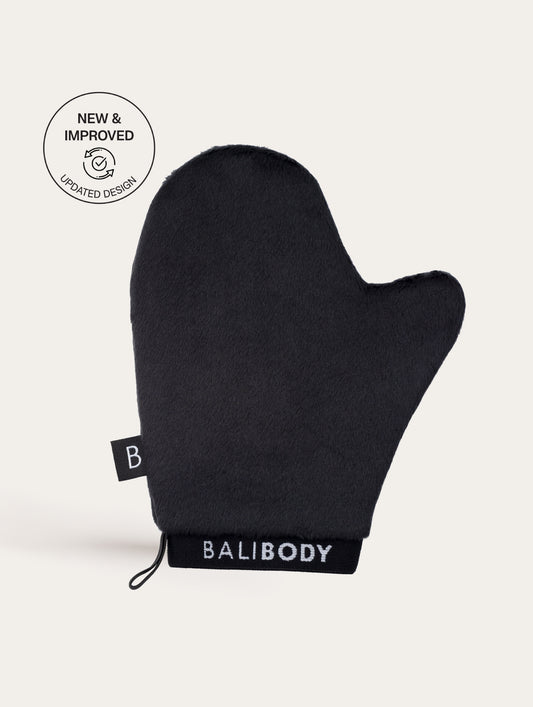
While it might be tempting to use your hands for applying a no-colour guide tanner, using an applicator is highly recommended for even distribution. A tanning mitt or blending brush helps distribute the product more evenly and prevents streaking. It also protects your palms from staining. For those new to no-colour guide tanners, an applicator can make the process more manageable and provide a professional-looking finish. The extra effort of using a mitt will pay off with a streak-free, natural tan.
- Wash Your Hands!
If you’re not using an applicator to apply the colourless self tan, washing your hands thoroughly is a must to avoid tanned palms. Use soap and water to clean your hands, paying close attention to the areas between your fingers and around your wrists. Additionally, a damp cloth or towel can help remove any residual product from your fingers, ensuring a seamless transition from your hands to arms. Clean hands will keep your tan looking natural and avoid any unwanted orange stains.
Our Favorite No-Colour Fake Tan
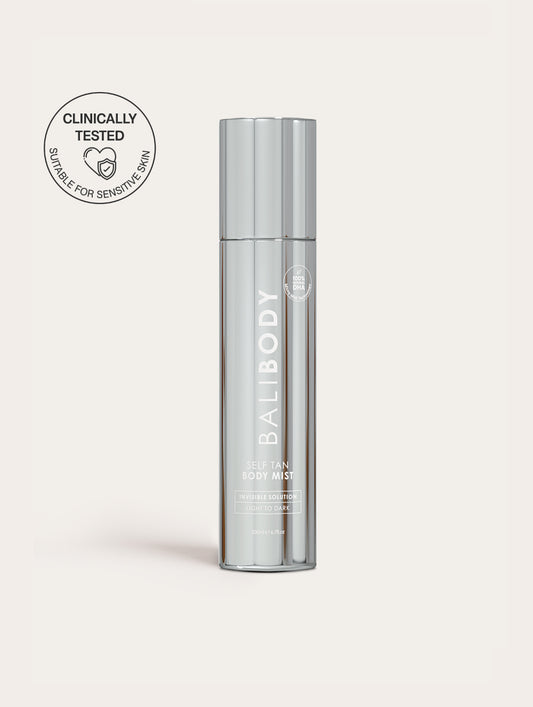
- Self Tan Mist
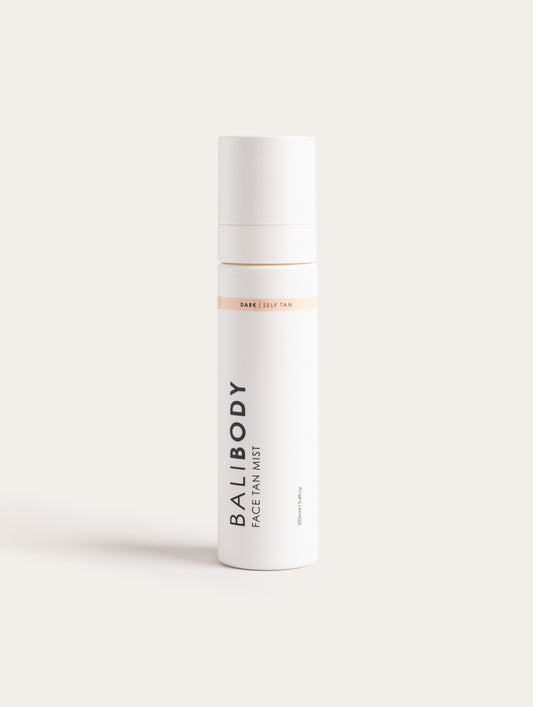
The Self Tanning Mist is perfect for those who prefer a lightweight, quick-drying application. Its fine mist ensures even coverage and can be easily layered for a deeper tan.
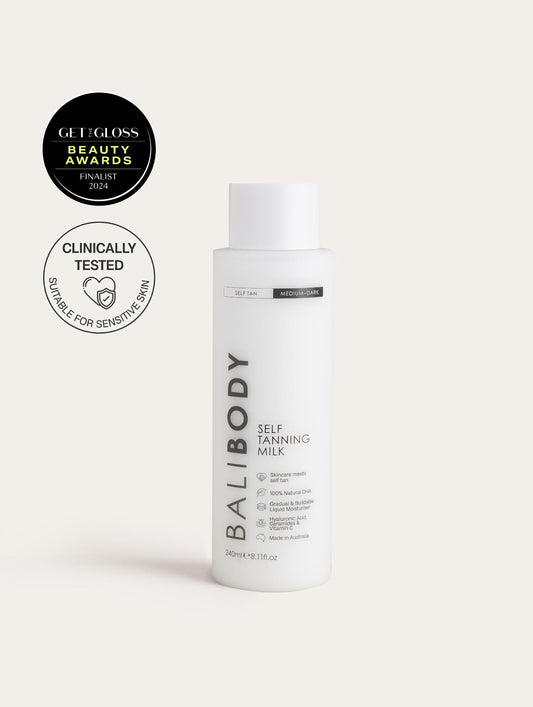
- Self Tan Milk
On the other hand, our Self Tanning Milk is ideal for those who prefer a more hydrating formula. It combines the benefits of a self tanner with a body moisturiser, making it perfect for dry or sensitive skin. Both products develop into a natural-looking tan without the mess of a colour guide, offering convenience and a flawless finish.
The key to achieving a beautiful, no-colour guide tan lies in proper preparation, careful application, and using the right products. By following these tips, you can enjoy a streak-free, natural tan without the hassle of traditional tanning methods.
Discover our latest Self Tan Milk for the easiest, streak-free tan with all the skincare benefits.
Happy tanning!

